 Being chronically ill does have it perks believe it or not. One of them is being able to make beautiful eye appeasing creations from the comfort of your sofa, even when you’re jacked up on painkillers!! There’s been some darkness in my life and the last few years especially have been a struggle but I find comfort in being able to make nice things for nice people and since you’re reading this you’re obviously a nice person too so have a free baby blanket pattern on me!!
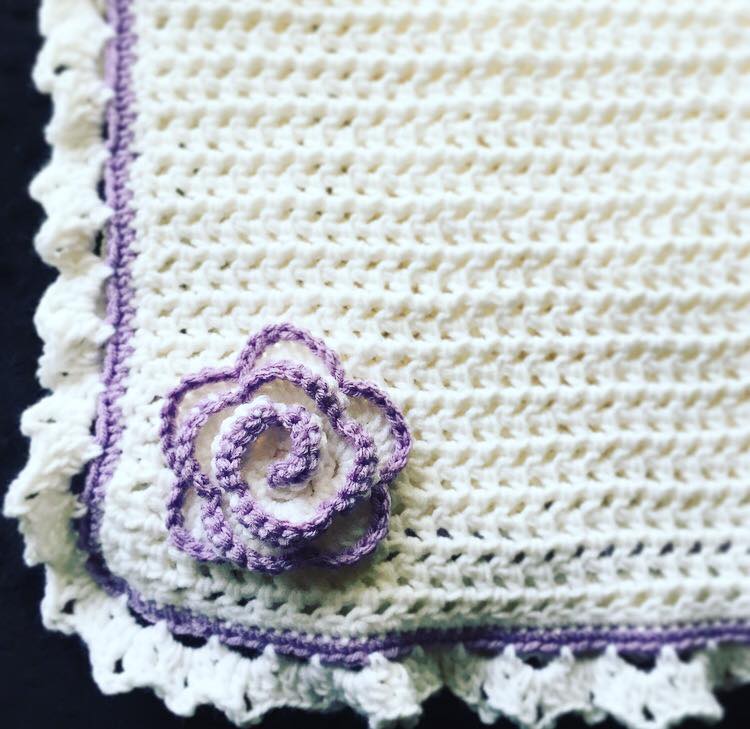
This is the Alexia Rose blanket. Its simple and beautiful. You can use any contrasting color, I chose lilac for this one. I’ll get some better pics too since I have FINALLY found my “good camera” charger. But here’s a phone pic so you get the idea.
PATTERN
5.5mm or I Hook
Medium 4 yarn
US Crochet Terms
Stitches used; Chain (ch), Single crochet (sc), Half double crochet (hdc), Double crochet (dc), skip a chain (sk)
I made this as a stroller blanket so its only 25″ wide, for a wider blanket just chain to your desired length (make sure its an odd number for the turning chain) as its really easy to modify to your width/length.
Blanket
Row 1. Ch81 or your desired width and hdc into 3rd chain from hook (counts as your first hdc). *ch1, sk1ch, hdc* to the end of the foundation chain. Ch2 and turn.
Row 2. hdc in first chain space (chsp), *ch1, sk1ch, hdc* to the last 2 hdcs on the row and chain between them. Ch2 and turn.
Repeat to desired length.
Border
Rd1. ch1, SC evenly around in the same color as your blanket adding 2 chains in each corner.
Rd2. Change to contrasting color. ch1, sc evenly around adding 2 chains in each corner.
Rd3. Change back to original blanket color. ch1, *sc, ch3, sk2ch,sc*
Rd4. This round is all done on the chain arches made in the previous round. Ch2, Dc, ch3, 2Dc on the first arch and 2dc, ch3, 2dc on each arch around. I put 3 dc 3ch 3dc on any corner arches.

You don’t have to add anything to it but if you do then you can apply any applique you like, I liked the contrast of the rose with an extra sc of a contrasting color and as I’m obsessed with headbands I made a little one to match too. 
I hope this makes sense as I’ve had no one proof this pattern for me and I was on super strong pain meds so as you can imagine, my notebook resembled a 2year olds doodles BUT I am on hand to help out with anything I can and once you get going you can work out how the pattern goes.
Pattern created, designed and produced by RUBY VICTORIA. You may use this pattern to make and sell items but please do not claim or reprint it as your own. Please feel free to share this pattern by linking to this page only.


